C-I-T Adopts 3D Laser Scanning Technology to Propel its 35-year History of Strategic Growth and Expansion
Contract Industrial Tooling (C-I-T)
Case Study
Key Stats
Company History
From a two-person tool shop, C-I-T prioritized strategic growth and now counts some of the most advanced, sophisticated manufacturing brands in the world among its customers.
Kim Wuertemberger leveraged his tooling background and customer-service experience to launch his business in Dayton, Ohio, in 1987, working on light contract manufacturing. He chose to name the business Contract Industrial Tooling because, as he said, “Nobody wants to work for ‘Wuertemberger Tool and Die.’” Over the years, the company morphed into C-I-T, a logo that was recognizable in the industry and more reflective of its forward-thinking, growth-oriented mission that focuses on continuous improvement and innovation. It didn’t take Kim long to realize he could add hours of productivity each day if he moved the business from Dayton to his hometown of Richmond, Indiana, and reduce his driving commute.
Mike Catey joined the company in 1997 and, Kim said, “really started the growth of the company. He knew of an opportunity in the automotive field, solving a problem for General Motors. That was kind of a springboard for everything else we’ve done.” Today Mike is vice president of C-I-T and has helped it grow from its first 800-square-foot building where it welded parts before taking the product to a local body shop for painting, then bringing it back in-house and assembling the parts. The next move was to a 10,000-square-foot facility, then to a 50,000-square-foot building, and finally bringing it all under one roof in a new 120,000-square-foot purpose-built facility it now occupies.
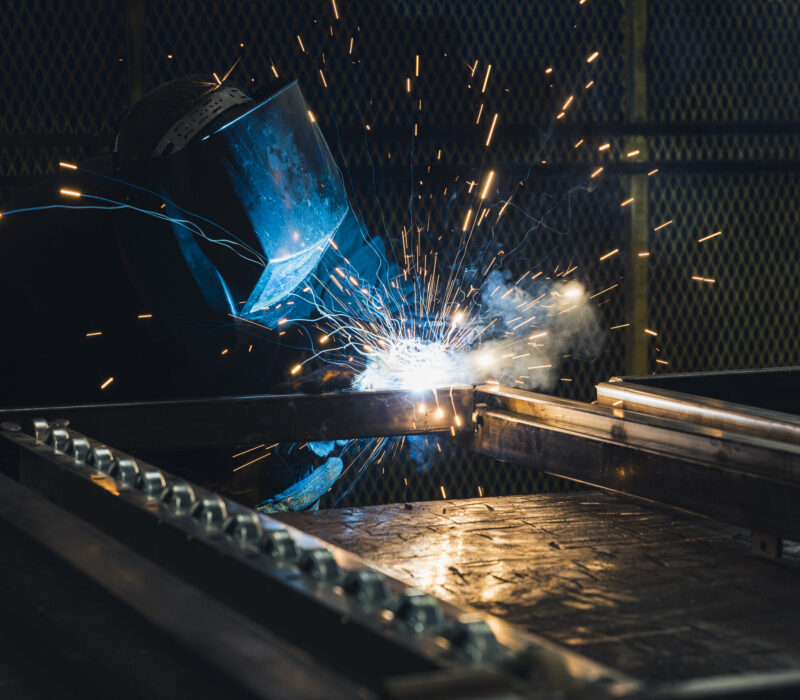
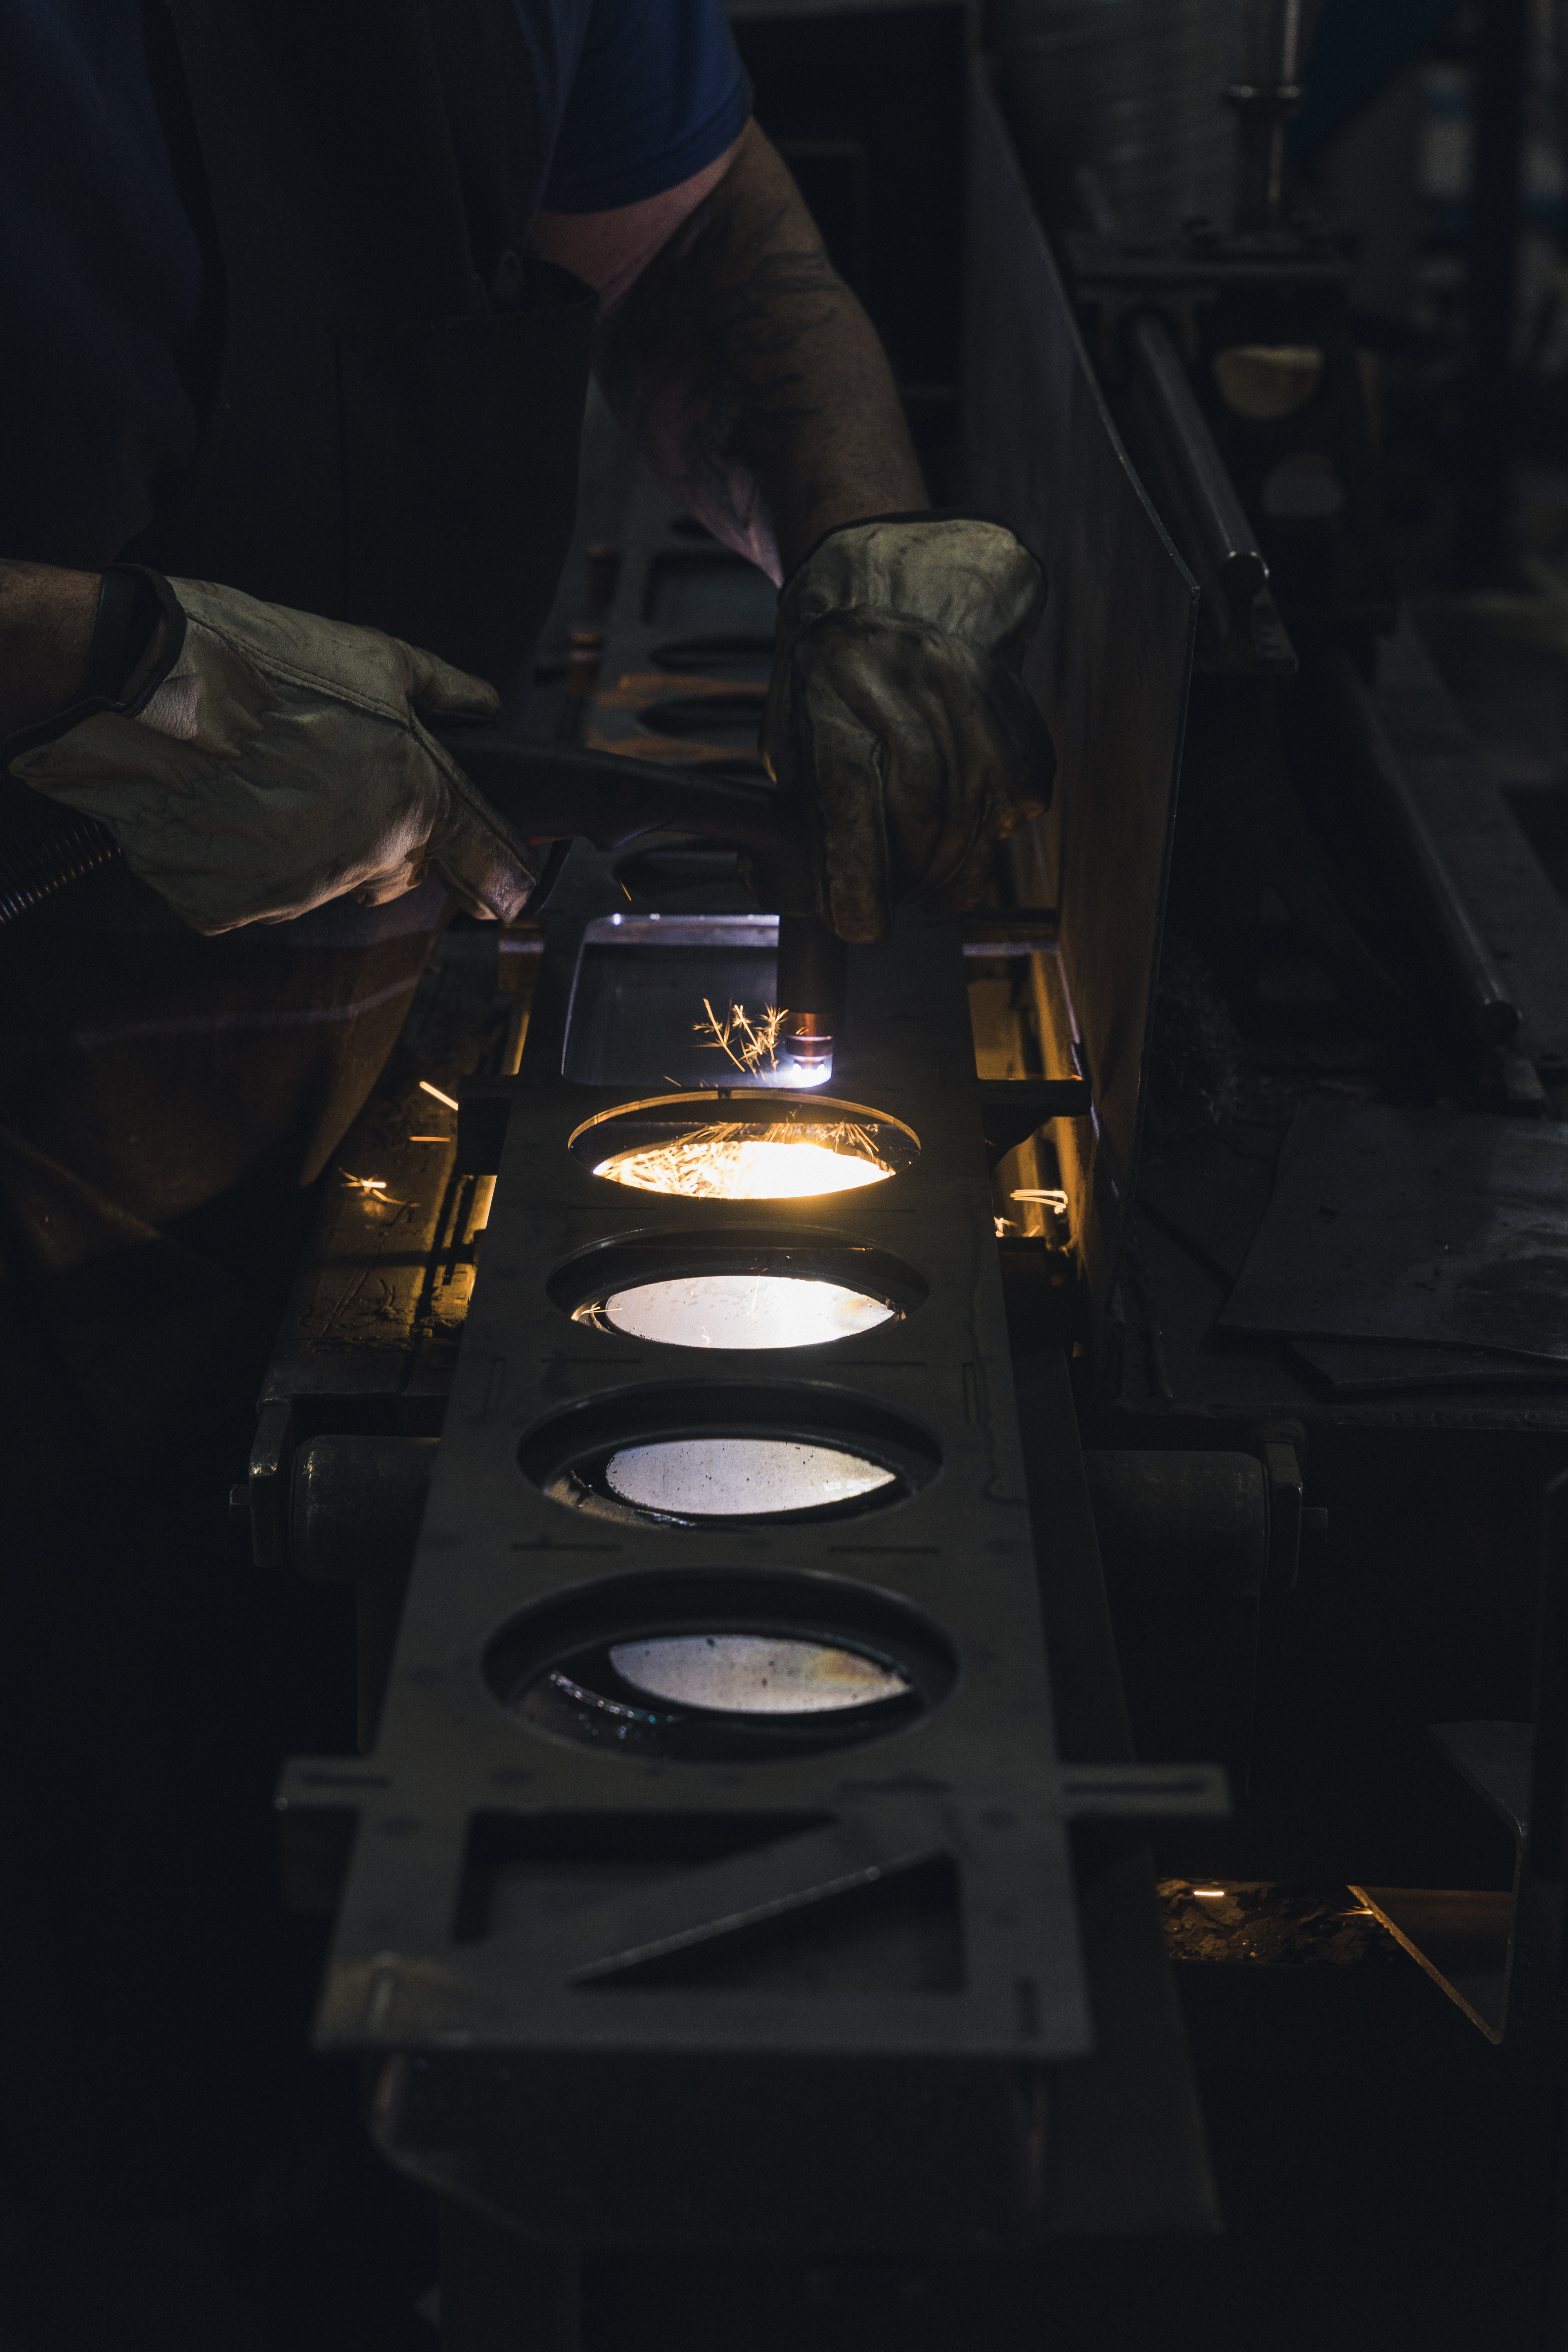
With each expansion came more global brands as customers, along with new equipment—high-definition plasma lasers and robot welding cells to name a few. “Having everything under one roof in our new 120,000-square-foot building instead of a 1940s building gave us a real opportunity,” Kim said. “Now we’re moving into aerospace and other manufacturing opportunities. But one capability we’ve always lacked in-house is high-end inspection.”
The Project
C-I-T adds high-end inspection capabilities to secure more complex projects in the automotive and aerospace industries.
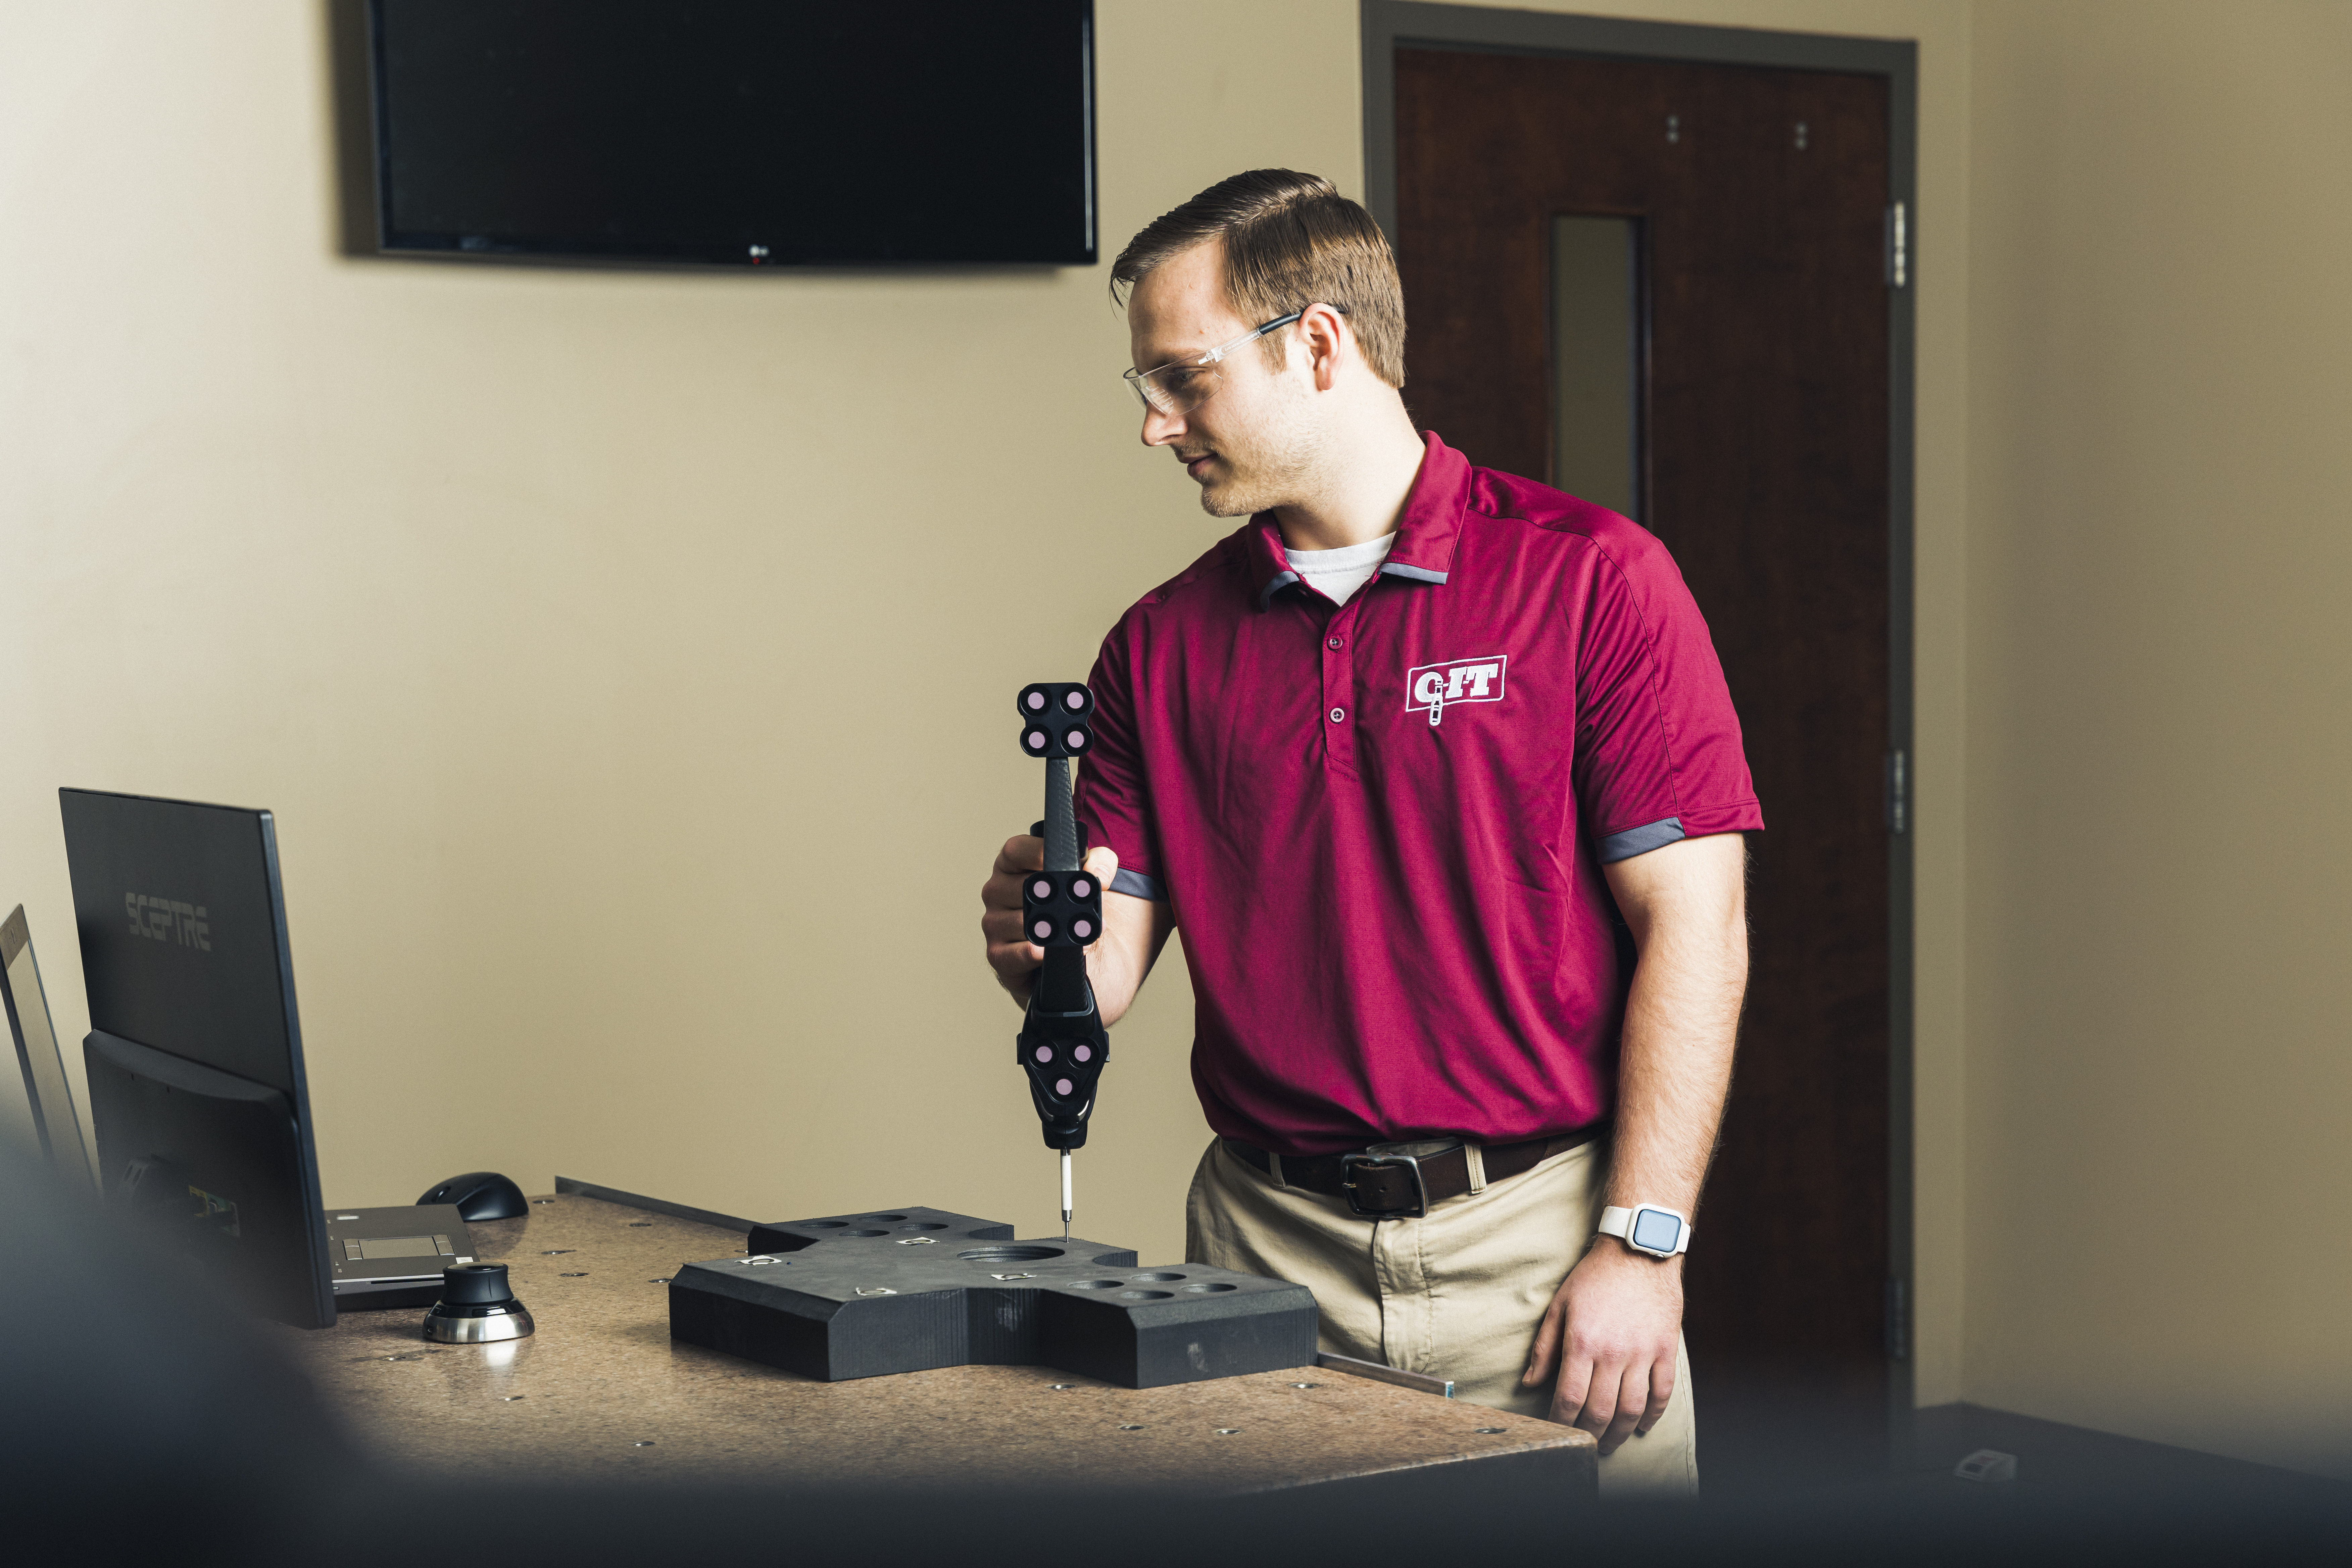
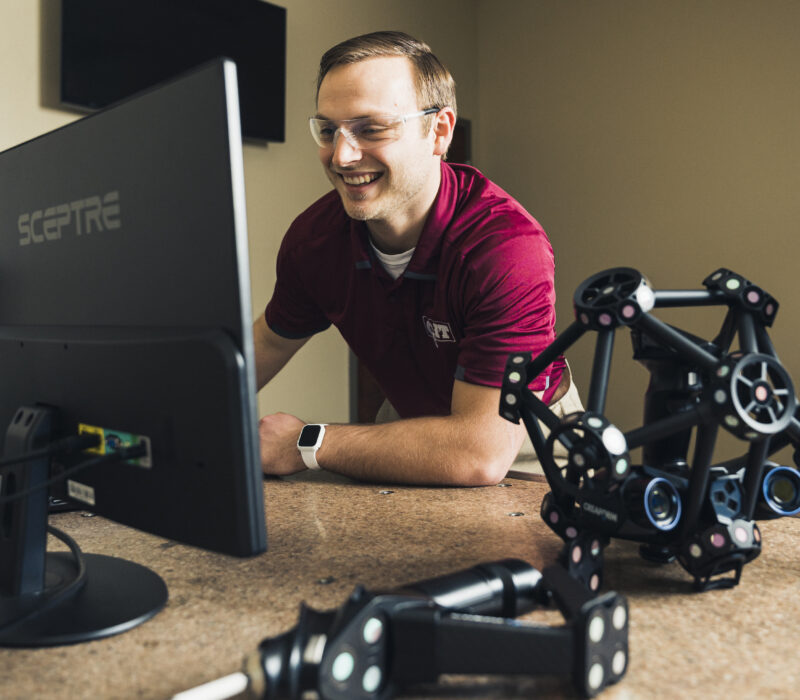
“Our focus has always been on the manufacturing side,” Kim explained, “and we’ve done a fantastic job.” But it was time to add high-end inspection capabilities to expand into new markets. He credits quality technician Paul Barnard for taking the responsibility to understand and use the 3-D laser scanner C-I-T acquired with the help of a Manufacturing Readiness Grant award. “We looked at three different products,” Kim said. “We interviewed three different producers and the one we chose was the best opportunity for us with the most capability, the quickest resolution and the best user capability.”
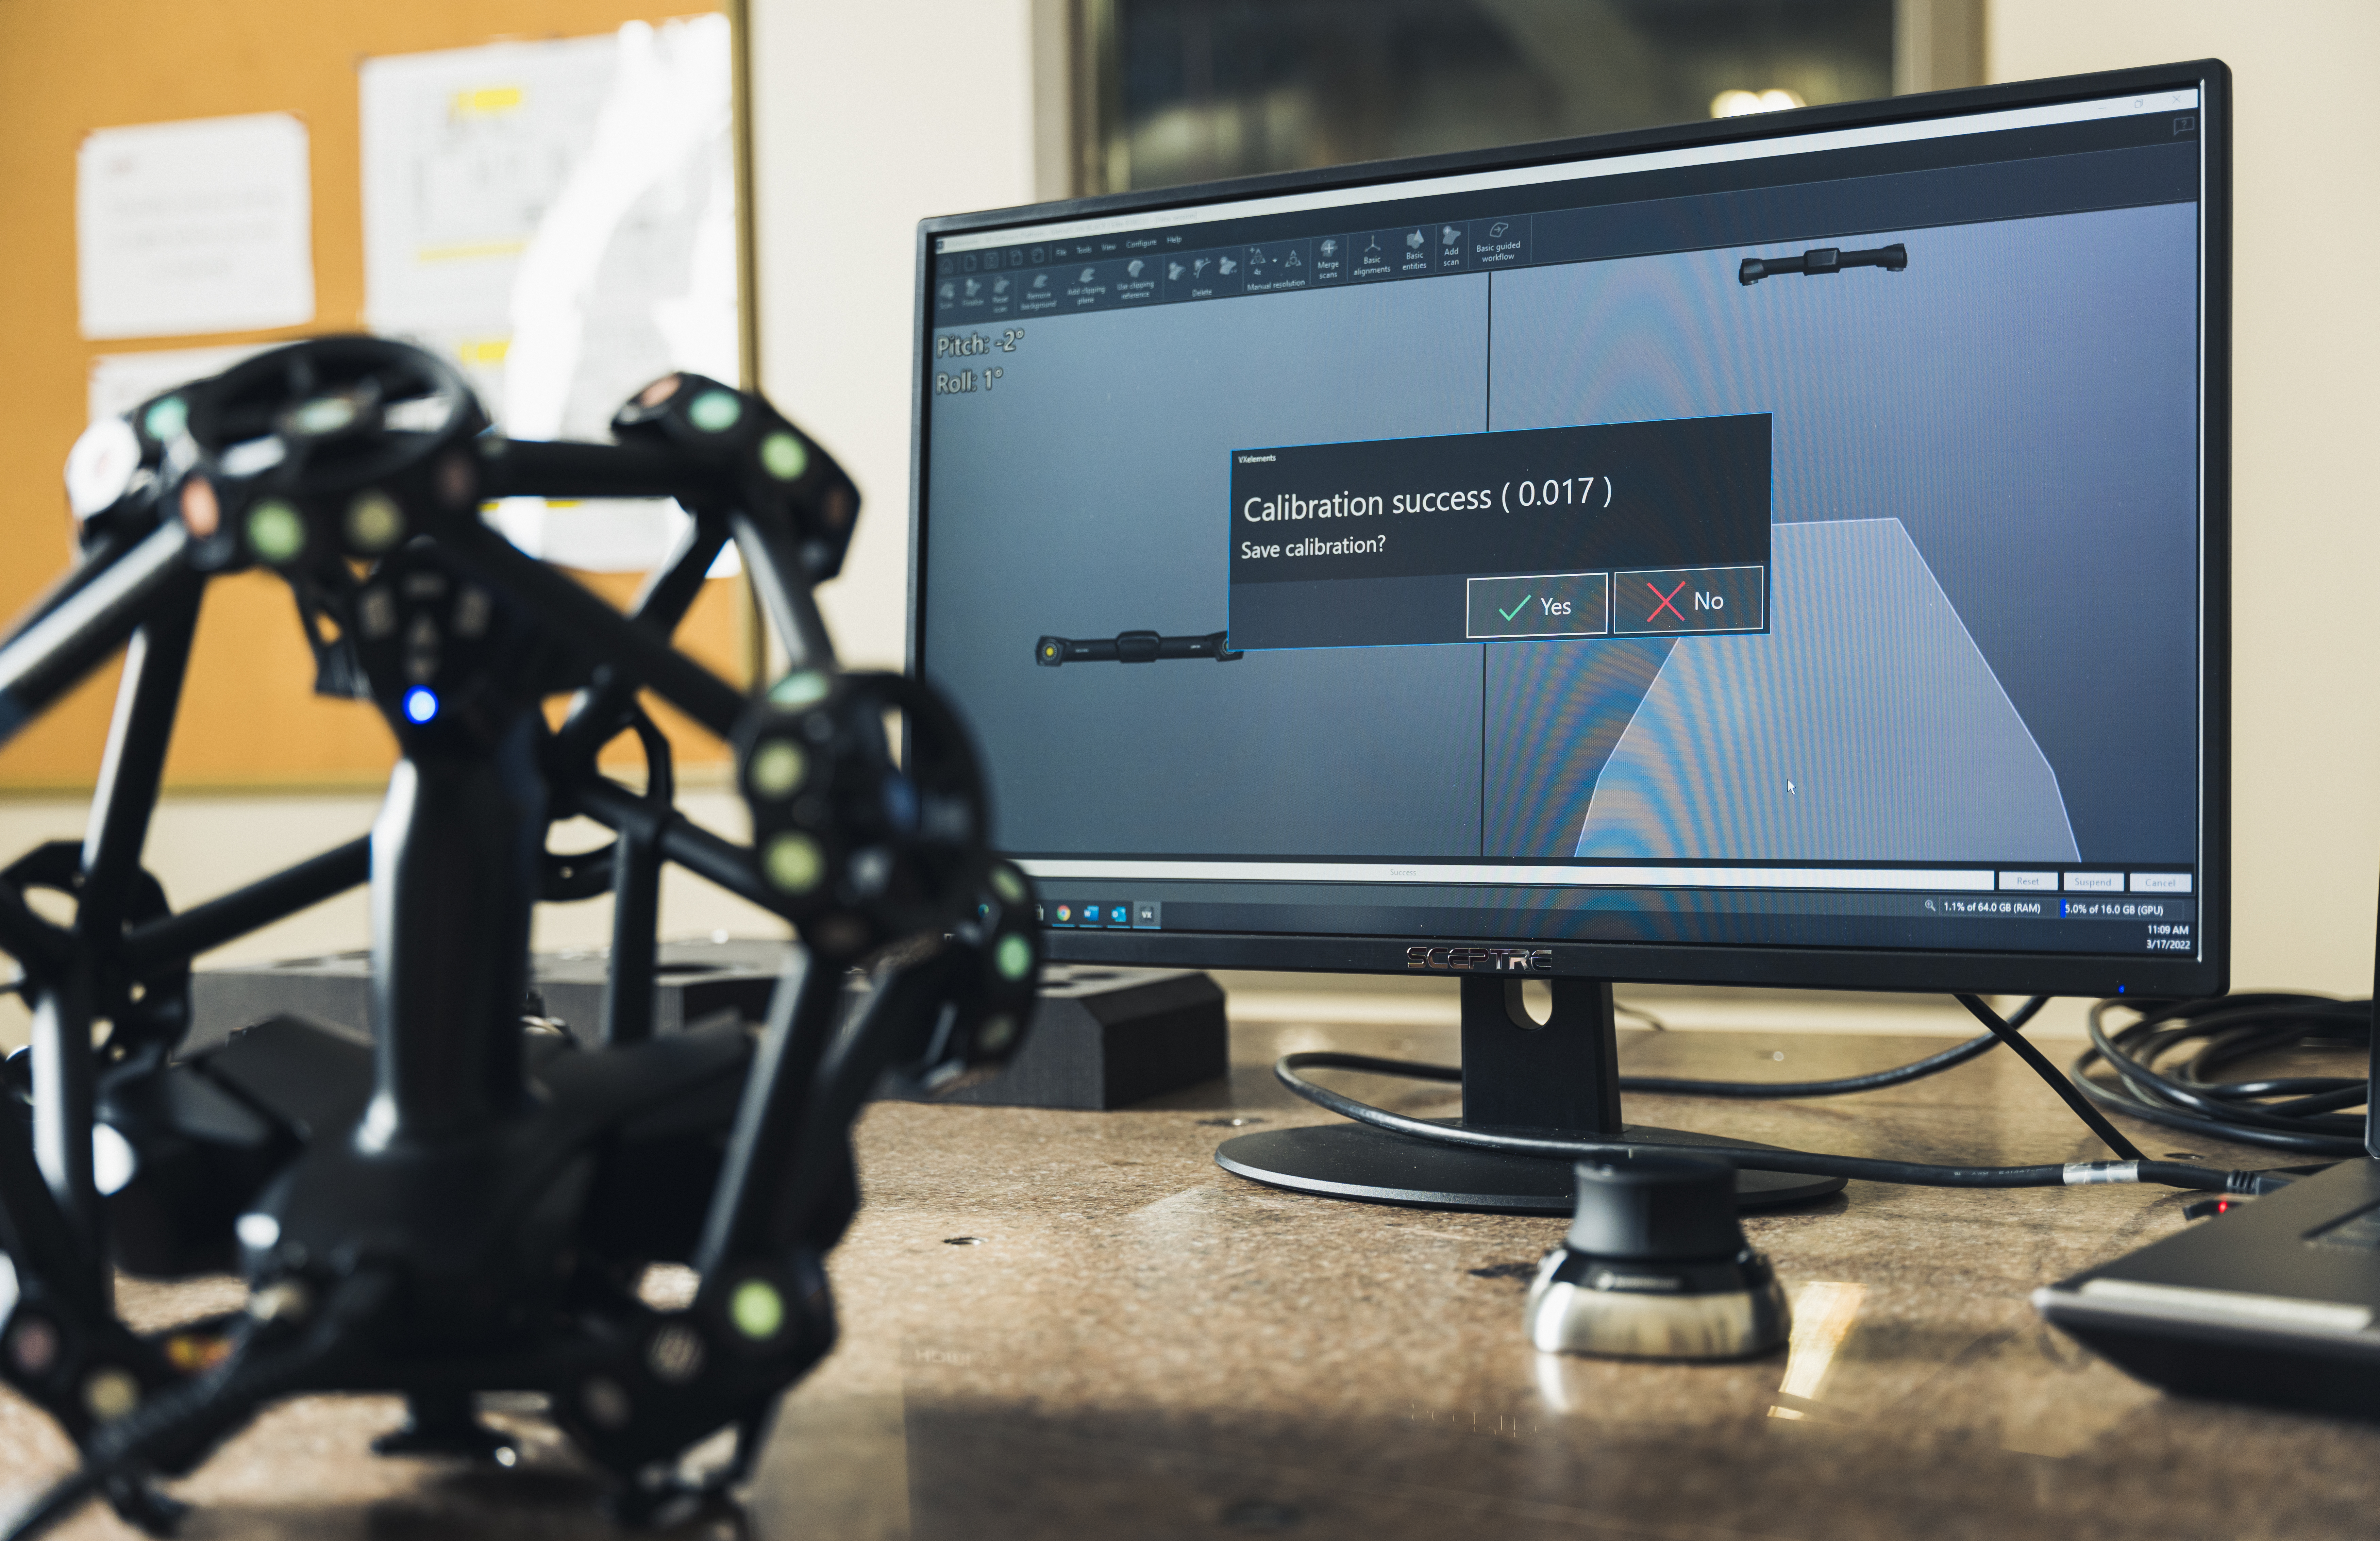
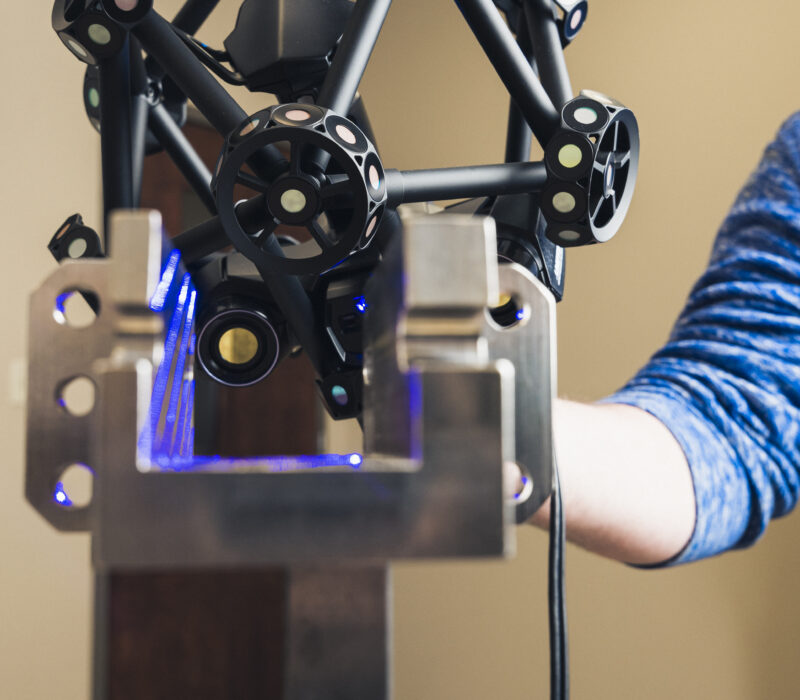
The laser scanning system captures a digital version of a physical part to create a 3-D model. Using the company’s computer aided design (CAD) system, a digital version of the part can be compared to what was just scanned, checking for any dimensional variation. “The technology is a 3-D laser scanner which continuously reads a tremendous level of accuracy, down to the micron,” Mike Catey said. “Additionally,” Mike continued, “we have software called Vx model, that allows for reverse engineering.”
C-I-T digitizes product inspection data, enhancing customer experience.
The prior C-I-T inspection process used hand-held calipers and tape measures. Mike said that before C-I-T acquired the new equipment some jobs could not be bid on, because they had no way of measuring to that degree of precision. With the addition of the 3D laser scanning equipment, Mike mentioned “we can get down to micrometers or microns on a particular aerospace part. Digital measuring is about the only way you can really get there.”
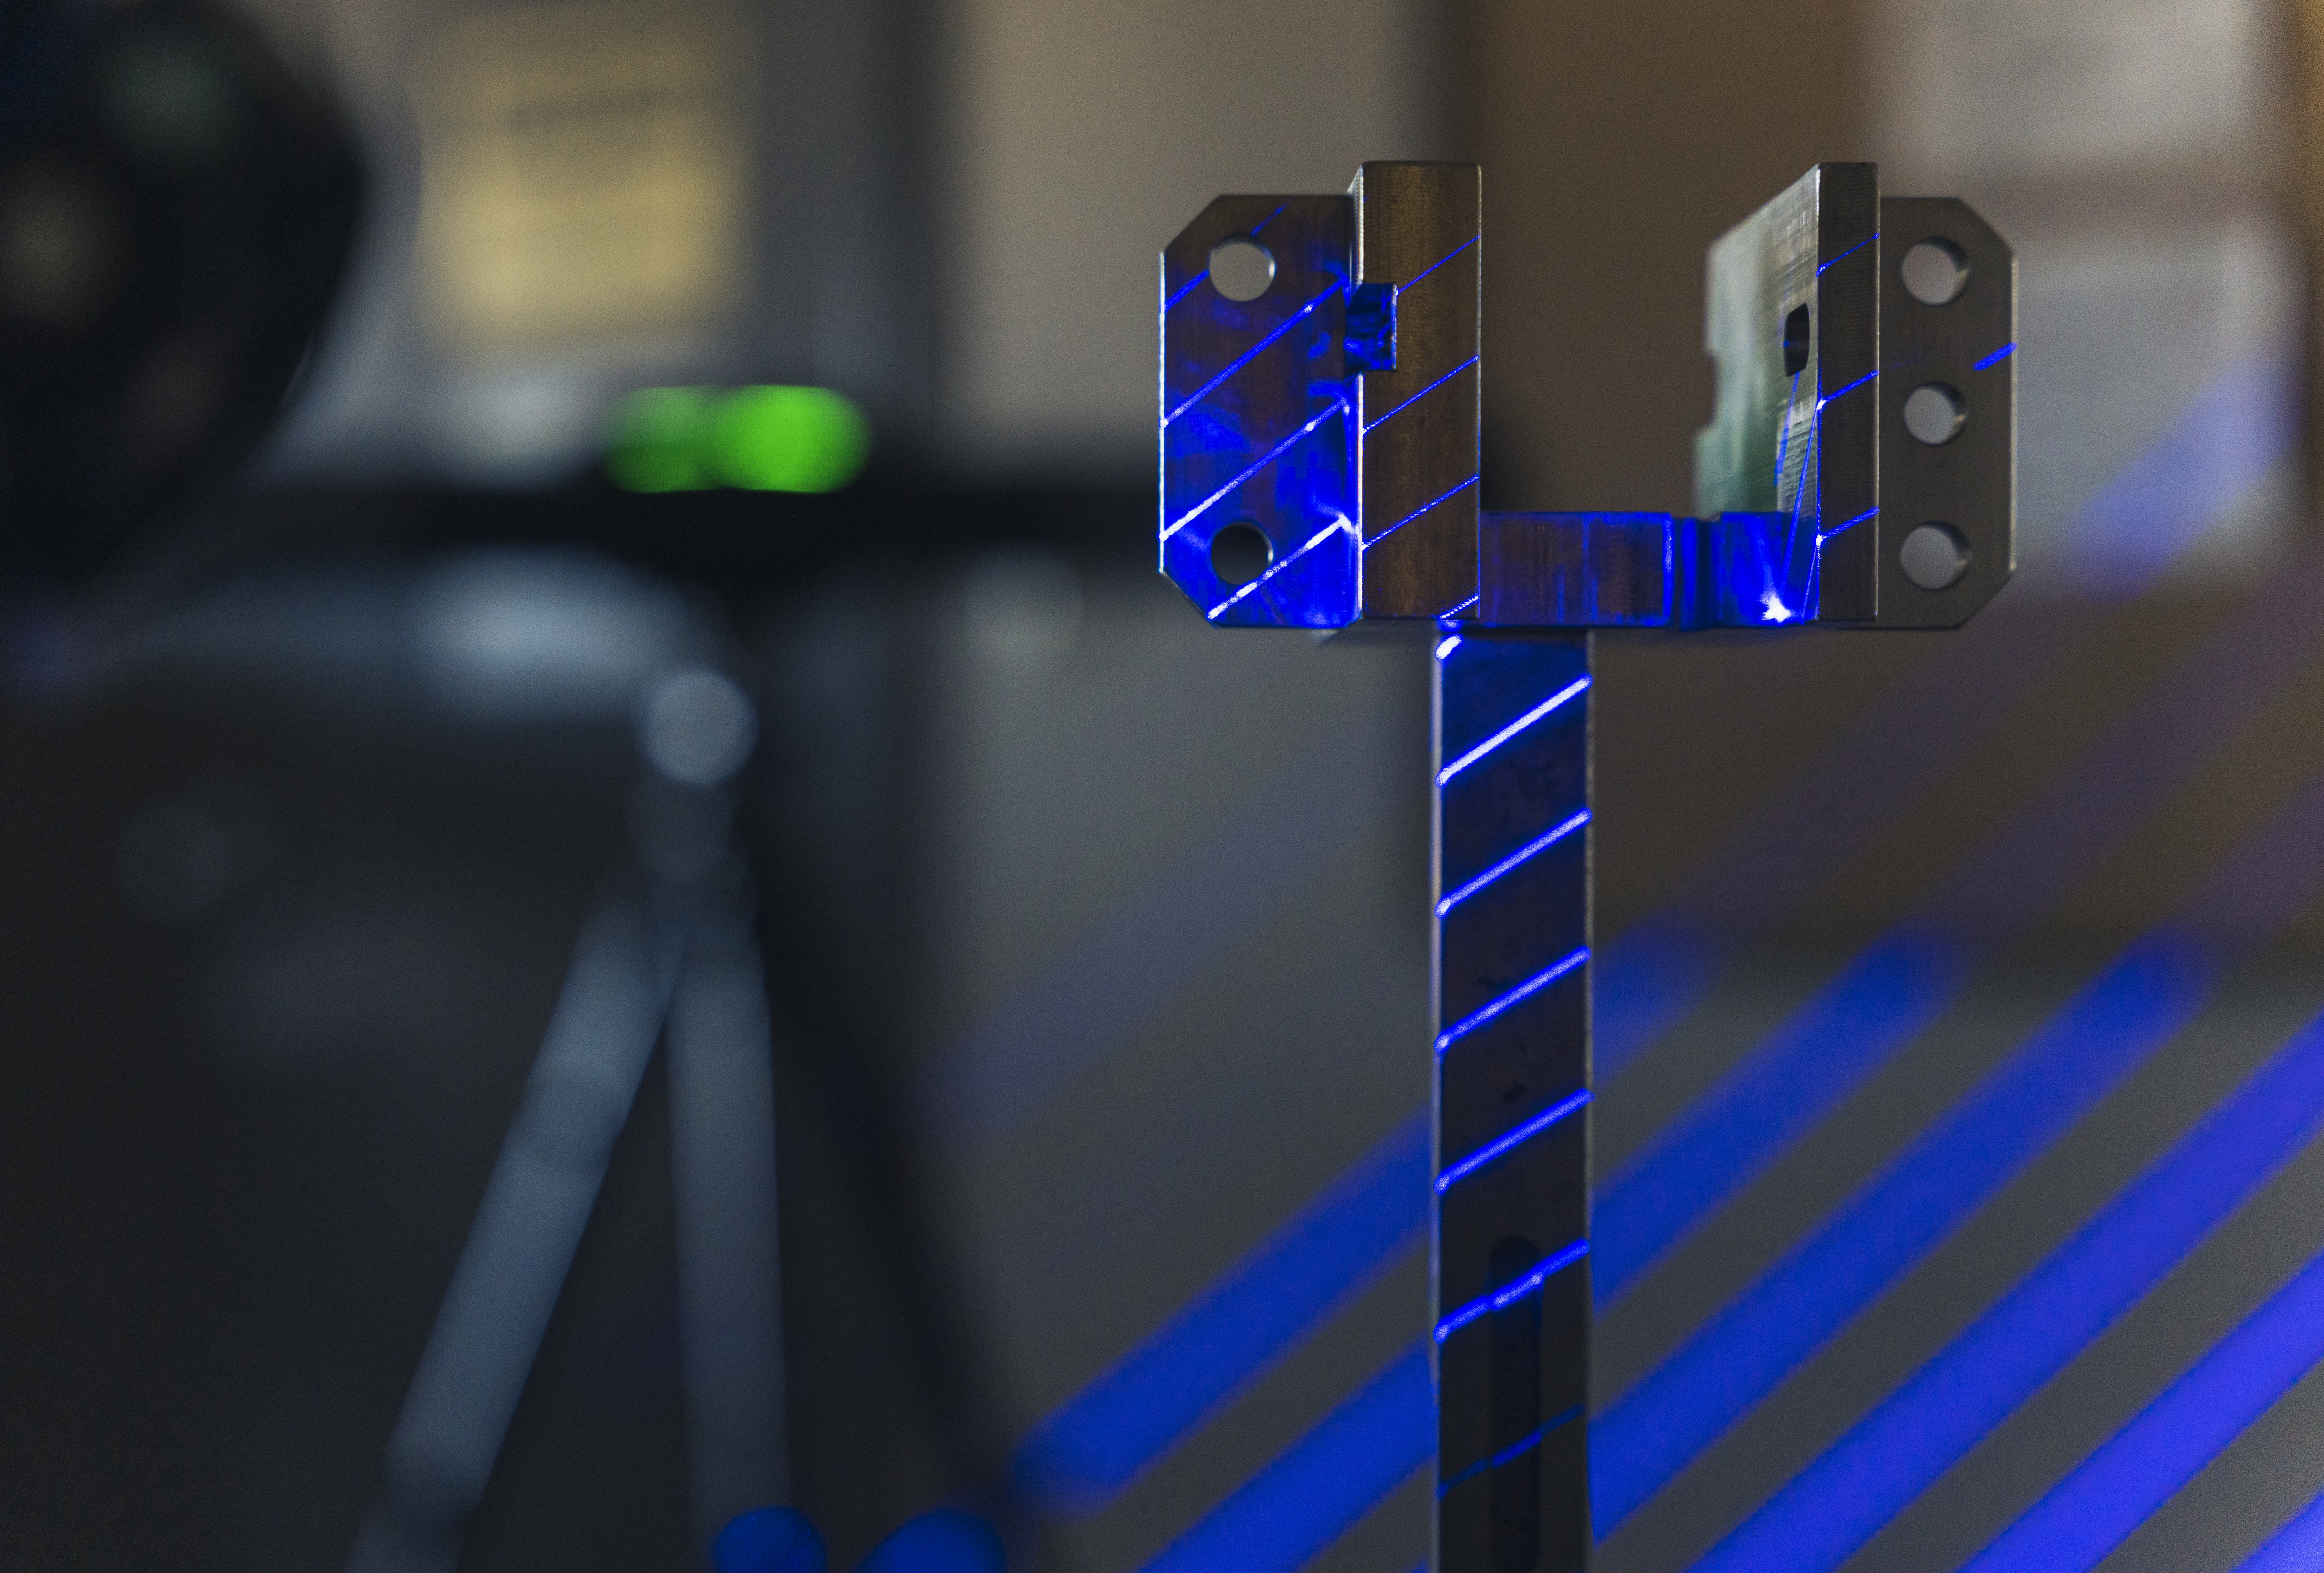
The digitalization of inspection data has also been a significant part of the project. The company was spending hundreds of hours physically tape measuring a part, writing down documentation and transferring that information onto a technical form that would eventually be passed on to a customer. “The transition from paper forms to digital records alone has been unimaginable,” Paul said. “The project I just scanned on Monday would probably have taken 4 or 5 days manually—if we could do it at all. With this new process and equipment, it takes a matter of hours.”
Not only does the new system provide efficiency and accuracy over the manual work, but it provides the traceability factor required by automotive and aerospace customers – and now C-I-T can bid on new contracts and land more business.
Manufacturing Readiness Grants (MRG) provided by the Indiana Economic Development Corporation and administered by Conexus Indiana are available to Indiana manufacturers willing to make capital investments to integrate smart technologies and processes that improve capacity. Contract Industrial Tooling’s (C-I-T) successful application for an MRG to implement smart technology helped it secure more complex projects in automotive, CAB enclosures and aerospace through increased accuracy in measurements, enhanced reverse engineering and world-class quality standards.
Key Learnings
Take small but significant steps, and don’t postpone technology investment decisions.
If there is one thing C-I-T might have done differently, Kim said, it would have been not to postpone the decision years back. Kim recalled, “We probably should have done this four or five years ago.” Still, he said, “if you go all-in on a big capital installment of technology, you can’t do anything else for a few years. “Maybe it’s better to take small steps. That way, you learn more about what the right next step for your company is.”
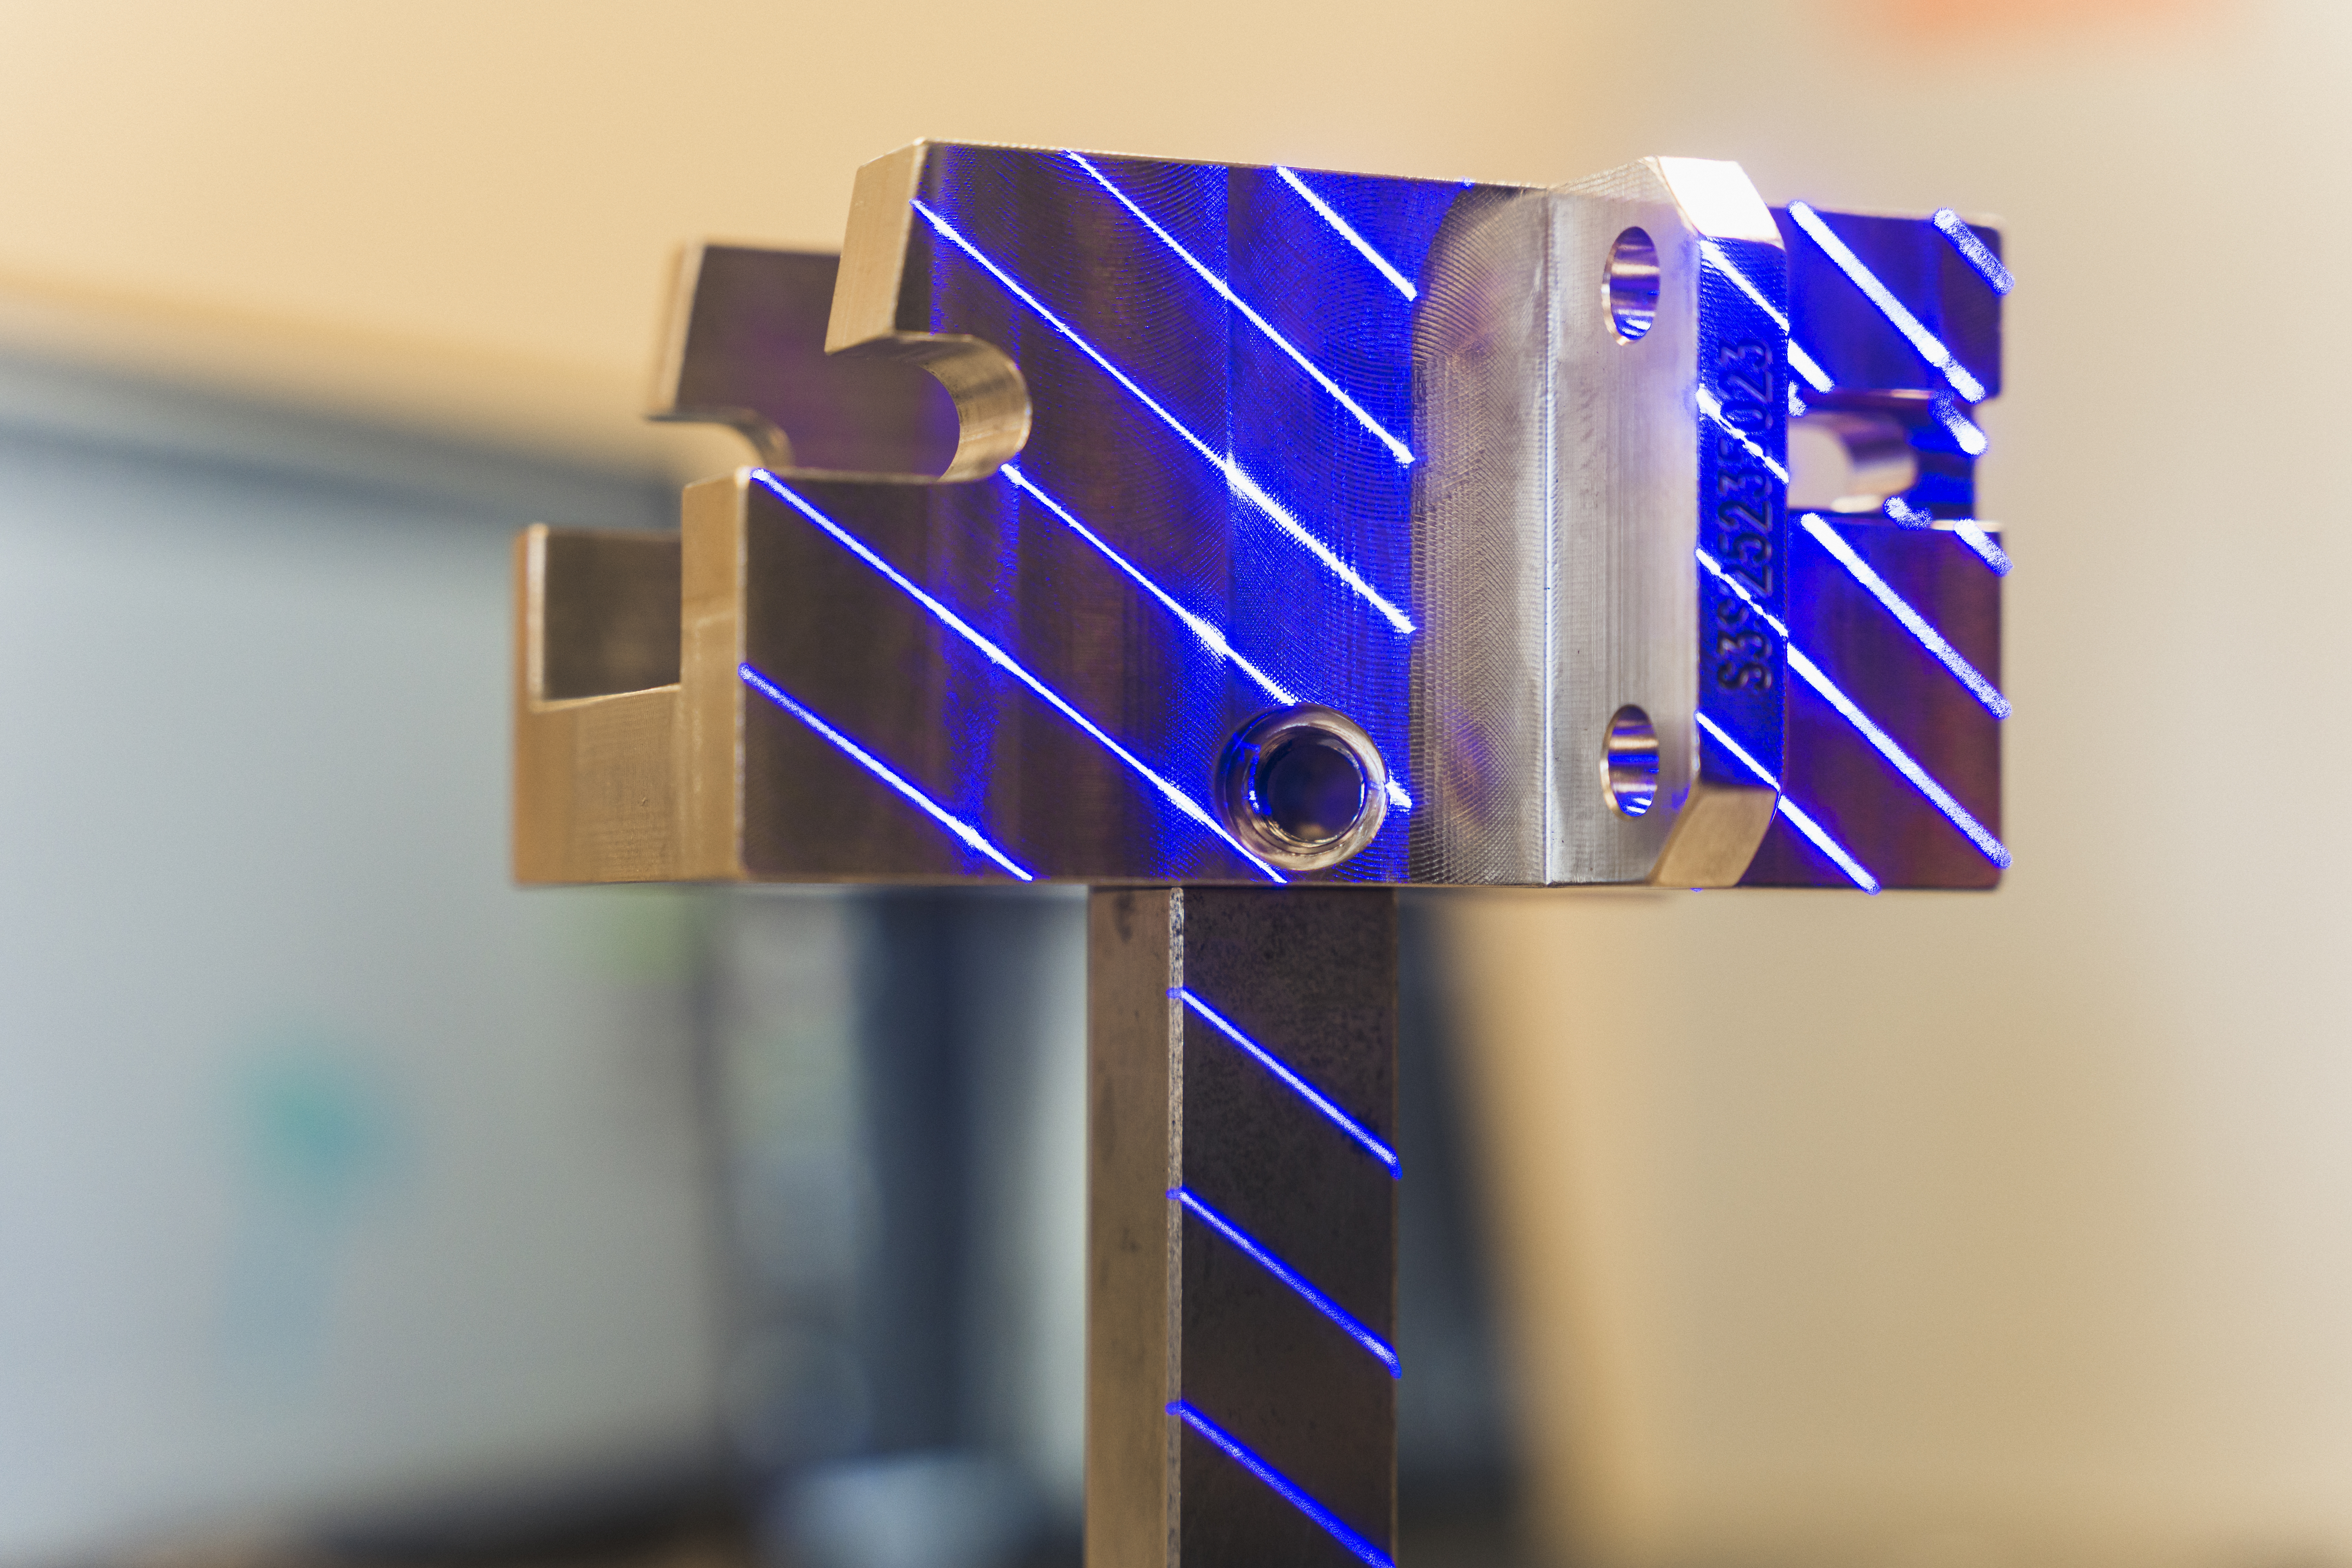
He pointed out that waiting on technology to fully develop and mature before investing in it can increase the learning curve for everyone at the company. “It kind of creeps up on you just how much you could have done differently and better.” C-I-T brought in three different technology providers to demonstrate the benefits of their equipment over others. “We didn’t go for the most expensive option. It’s about sizing technology to your needs and not just assuming that, if you’re investing in new technology, you have to go straight to all the bells and whistles. Bigger is not always better,” Kim said.
C-I-T adds one new employee to the workforce and aims to train its existing employees in-house on the 3D laser scanner.
Existing employees will be trained to work on the new scanner. But leadership did decide that at least one new job had to be created and filled. “It’s interesting because we needed to create a new job,” Kim said. “We were looking for a combination of a quality manager, technician, and IT specialist all in one. “Having these three unique skillsets is what we call a ‘unicorn,’ and you know what? With how rapidly technology evolves, we may need to fill more of these types of roles in the very near future.”
“It [technology adoption] is about sizing technology to your needs and not just assuming that, if you’re investing in new technology, you have to go straight to all the bells and whistles. Bigger is not always better.”
Kim Wuertemberger
President at C-I-T
